Adding texture to lights with Shader Graph
Today, I’ve been working to add a subtle texture to any 2D Light present in the scene. This could be accomplished in two completely different ways, one would be using 2D Sprite Lights, using one sprite for the light itself and another sprite right on top with a noise texture to create this effect. Although, using this kind of light can easily limit us in many ways and one of them being importing lots of different sprites, so I found a small trick to avoid doing that.
Setup
This method has its own limitations too, the most important to note is that 2D Lights can be in 4 different layers and any noise sprite we put in the scene will be reacting to all of them, so that means that multiple lights can affect the same sprite.
Luckily, unity provides us multiple 2 additive and 2 multiply blend masks, so we can decide which ones are affected by the lights. In my case I set up the global light to be in the Multiply Blend Mask, and the light with texture to be in the Multiply With Mask (R) so they work almost the same but one of them is affected by the shader and the other aren’t.
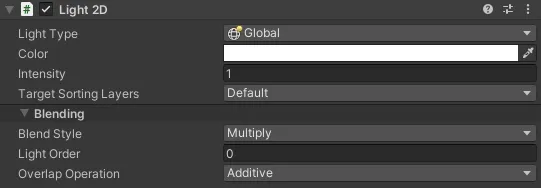 Global Light that affects the whole scene
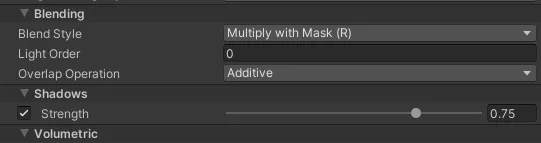 Spot light that will contain the shader
Shader
The shader is divided with two parts, one that samples the texture, in my case a Gradient Noise Node with an offsetting function and the other one being the Light Texture reading and converting it to the texture’s alpha.
Just note that it has to be a Sprite Unlit Shader Graph.
Noise Generator
The noise generator is a simple function based on 2 sine waves combined, similar to this one. By doing this, we get a more natural look offset function.
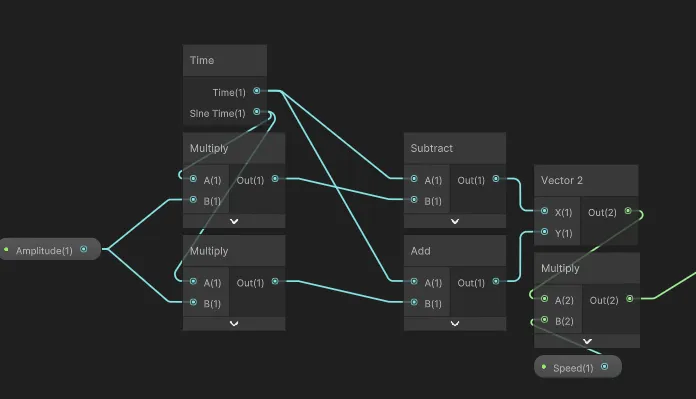
The output of this function is then output into the Tiling And Offset Node that will sample the Gradient Noise Node.

The output of this group goes directly to the Base Color.
The alpha is calculated with a mixture of light texture, color alpha and the noise texture. First and most important, we need a light texture property.
This must follow this rules: It must be not exposed, needs to have the reference named to _ShapeLightTexture0–3 (Being each index the Blend Style we want to react to), must not have a default value and is sampled using the Screen Position node. By doing this, we can read the light texture.
Unluckily it doesn’t have an alpha channel, or at least I haven’t got it working, so I did a workaround by adding all the channels and clamping them from 0 to 1. After that we multiply it with the multiplication of the gradient noise with the intensity and after that, multiply it again with the alpha channel of the color for better transparency control. The output of this goes directly to the alpha.

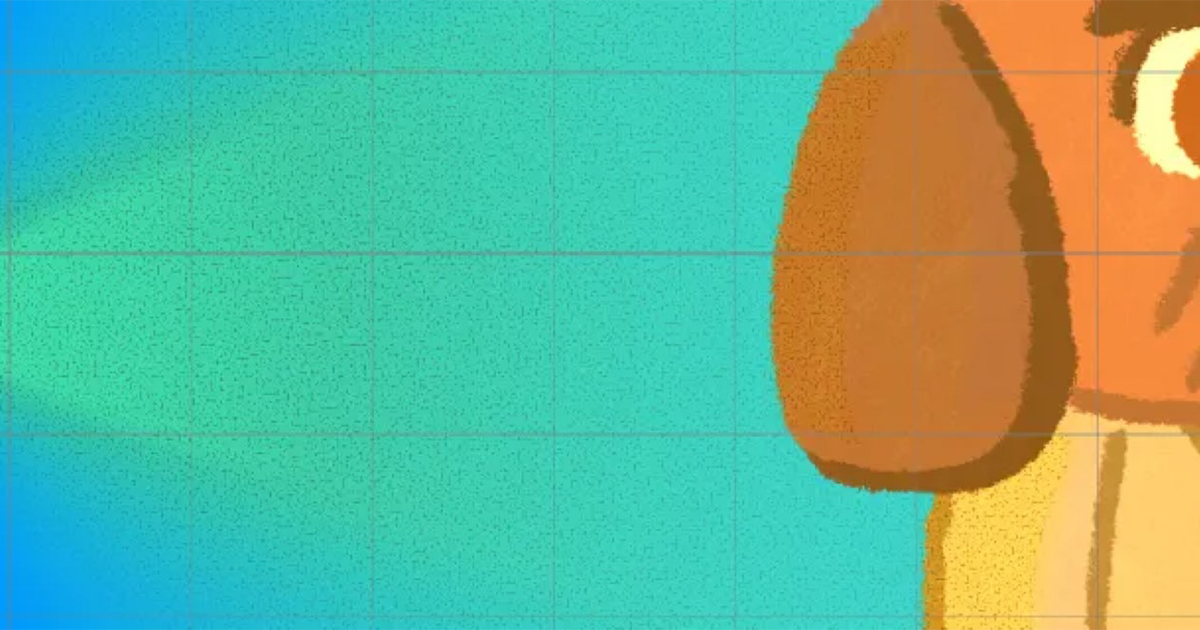
Final Result
After having done all of that, we can now create a sprite overlapping the light and adding this shader as a material.

A thing that you must take into account is that if the camera doesn’t have a light source near it, it will stop updating the light texture and will cause the shader to stop working. There are two workarounds for this, one is making the sprite be just about the same size as the 2D Light, or creating a dummy light that is a child of the camera and doesn’t emit light.
As always, hope that this small tutorial helps you in any of your projects.