Using Raw Images to create infinite backgrounds
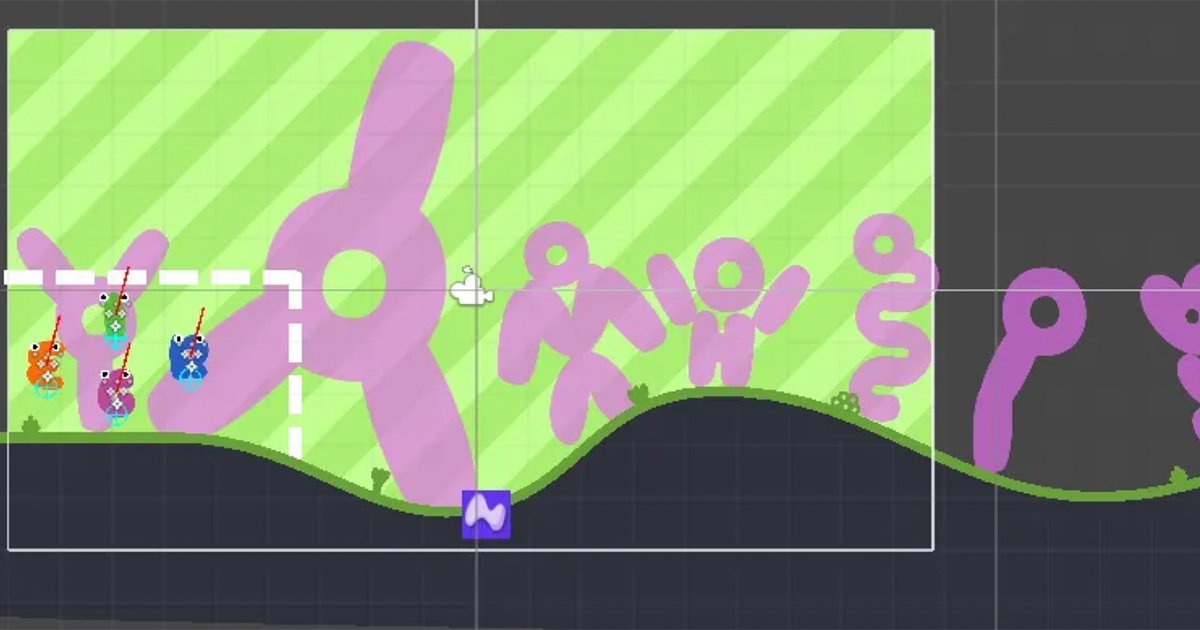
Creating a game with a large background can cause some large messes like this one:
A huge background that was made out of dozens of images. But after some workaround, I ended up discovering that you can replace that with a Raw Image and a simple script.
Setup
To start, we need to create a specific canvas for the Raw Image and set its Render Mode to Camera. Then we create a Raw Image child and set it to stretch.
Main Script
After creating the Raw Image, we’ll add the script. And write the following code:
1
2
3
4
5
6
7
8
9
10
11
12
13
14
15
16
17
18
19
20
21
22
23
24
25
26
27
28
using UnityEngine;
using UnityEngine.UI;

[RequireComponent(typeof(RawImage))]
public class Scrolling : MonoBehaviour {

    RawImage _rawImage;
    Camera _main;
    Vector2 _position, _size;

    void Awake() {
        _main = Camera.main;
        _rawImage = GetComponent<RawImage>();
        UpdateCamera();
    }

    void LateUpdate(){
        float height = 2 * _main.orthographicSize;
        float width = height * _main.aspect;

        _size = new Vector2(_main.aspect * _main.orthographicSize, _main.orthographicSize);

        _position = new Vector2(_main.transform.position.x / width * _size.x - _size.x / 2f,
        _main.transform.position.y / height * _size.y - _size.y / 2f);

        _rawImage.uvRect = new Rect(_position, _size);
    }
}
The idea of this script is to modify the UV rect of the Raw Image, but to do so we first need to know the real values of height and width. These are calculated with the orthographic size and the aspect of the camera. After that, the offset of the camera is calculated from the position of the camera and subtracting to it a portion of its size.
We could introduce some scale and parallax variables, and multiply them by the components of the UV rect, but for the sake of simplicity I didn’t do that.
Background Shader
For this specific project, I wanted to create a color change for different levels. In this case, I created the following shader:
This shader is composed by a Texture2D that needs to have _MainTex as a reference in order to be read from the Raw Image. Then I take the red and green channels to replace them for some alternative colors that change in each level.
Final Result
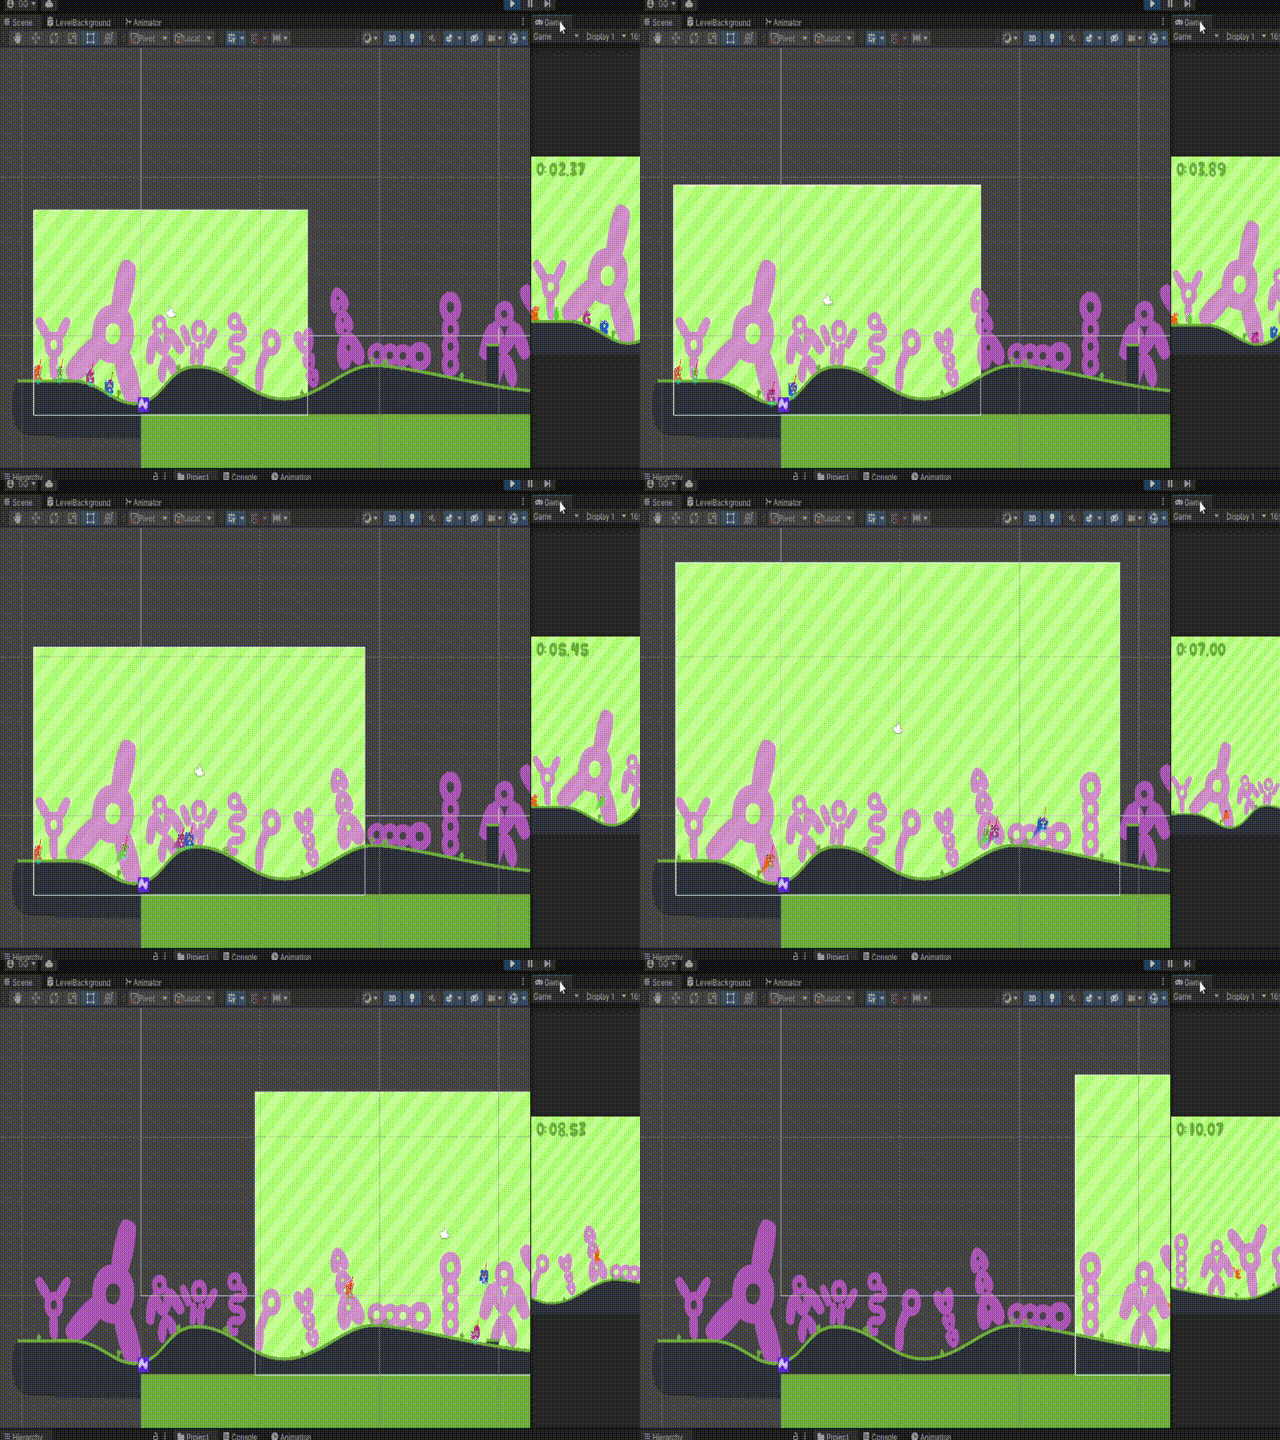
After having done that, we get the following result:
Thank you for reading and, as always, hope this helps you in your projects.


